

Let me tell you a bit about the process and what I've learned while building this piece. I learned that my studio is small! I really had to clear the decks to work on the sunflower. I don't have a table big enough to hold the entire piece (4 ft x 4 ft) so I did the building on my design wall.

If you've taken a class with me, then you know that I often use a piece of muslin as the base on which I build my design. Usually the design is traced to the muslin so I know where to place each piece. For this sunflower, I only traced out the large areas (background, petal section, and centre) on a piece of muslin.

Then I put a base of background colour down for each section.Why? Because I knew there was going to be lots of dark green background, and I did not want to cut out all the little edges of the sunflower leaves and applique them to a background. Better to just attach them. I was also worried that if there were pieces of green tucked under the yellow petals I would get shadowing. This way there is shadowing under all the petals automatically so it will look consistent. I used a background fabric for the centre portions too because as you will see in a minute, there are times when the dark green and brown of the sunflower centre show through the small collage pieces in the centre. Having placed the background colours there will be no danger of the muslin peeking through the collaged pieces.

Once I had blocked out the background colours (above), I had to somehow trace my pattern onto them. So I had to line up the pattern on top of the fabric base, and place some Saral transfer paper between the pattern and the base. Saral Transfer paper can be purchased at an art supply store, and leaves a chalk line that is easily brushed away. Using a pen you just need to trace along the lines of your pattern, and the piece of transfer paper between the pattern and fabric will leave chalk lines.


Here's the finished centre.

In these close-up photos you can see the chalk lines from tracing the design to the fabric. Numbers and letters from the pattern need to be included because it is oh so easy to get confused and lost.


The building of the flower was slow. I had to choose fabric for every single piece. All of the sections of the design were traced to fusible web, cut out, ironed to each individually chosen fabric, and then cut out again, and put into place. Scroll back to the top again for the finished view. Now I move on to the quilting and the building of the additional two smaller panels. You can scroll back a couple of blog posts ago to see the plan.

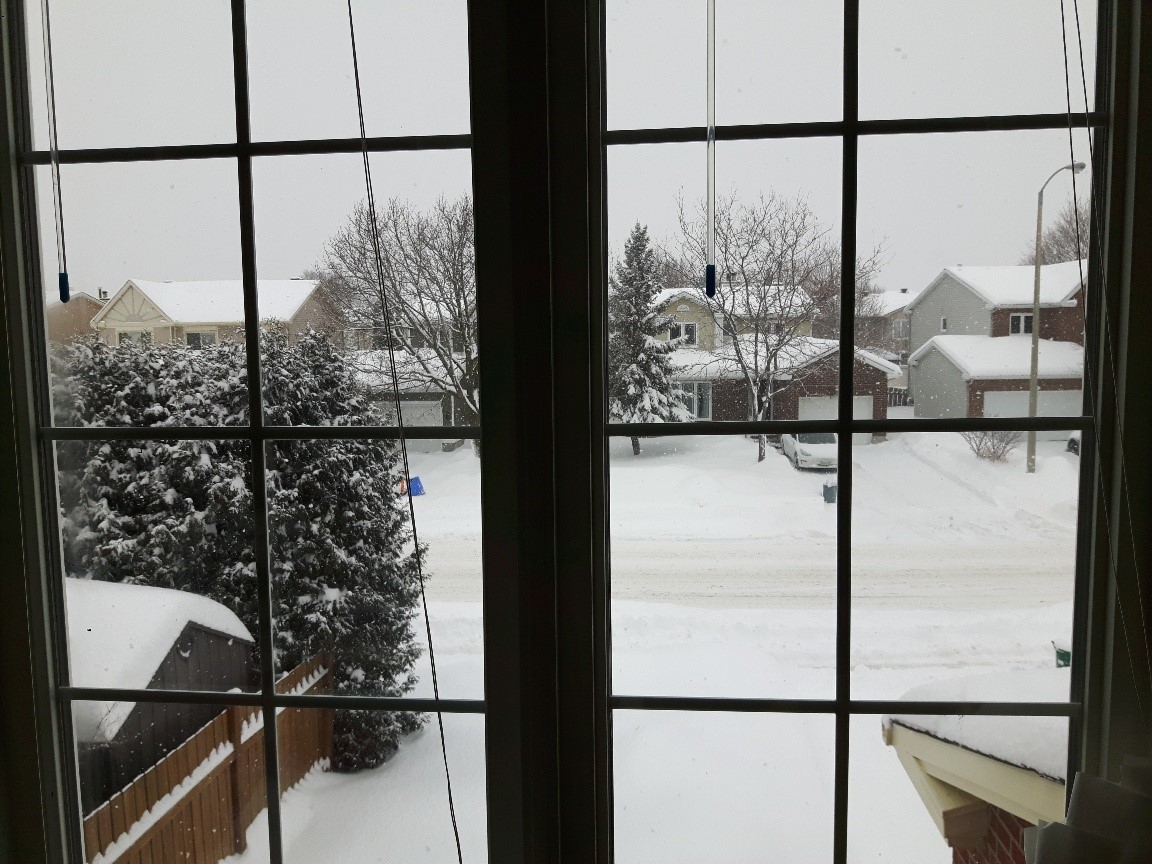
A lot of this work was completed on some very snowy days. It has been that way this winter. Here's the view from my studio out onto the street.


I've been playing with yarn too. I'm in love with seeing how variegated yarns look when knit. These are just a few sample squares.

However, I've taken the plunge and started a pair of socks. I only ripped them out about seven times before I produced my first cuff. Perfect or not (mostly not), here I come. I couldn't have done it without the help of these videos featuring Marly Bird with Red Heart Yarns. Thank you to my friend Dominique for sharing them with me.
